All media files, such as images, video, audio and documents, that you’ve ever uploaded to posts or pages are listed in your media library.
This is where you can manage all existing media files or upload new files (Media > Add New) directly to your blog without having to start a new post or page.

ABOUT YOUR MEDIA LIBRARY
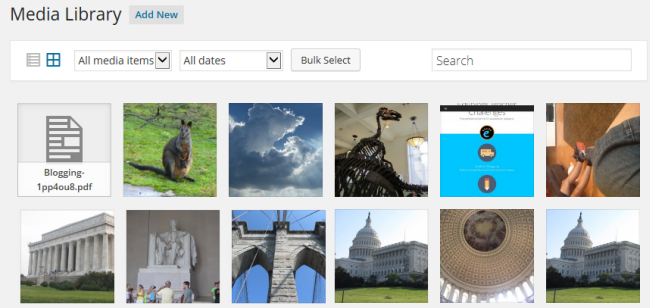
By default, the Media library displays files in a Grid View.
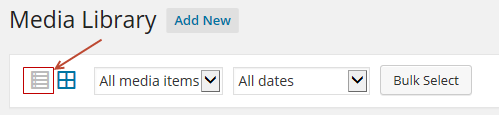
If you wish to display the files in List View, click on the List View icon on the top left menu bar to change display mode.
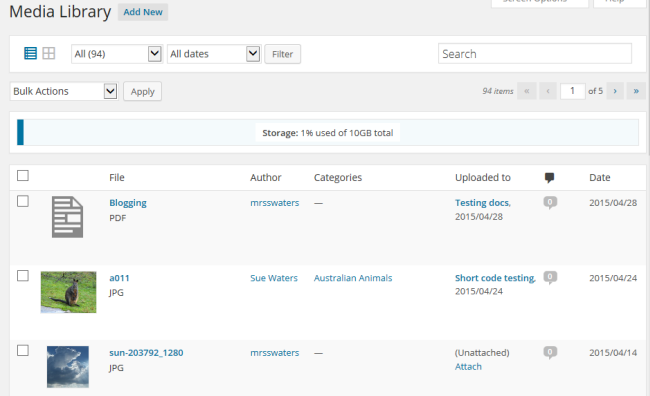
The List View mode displays the files in a list.
By default your media library displays all file types. You can choose to view images only, audio only or video only using the drop down menu at the top that says All Media Types.
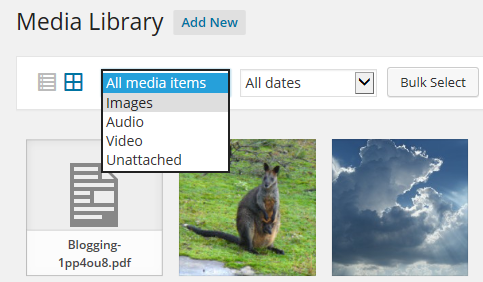
Alternatively you can filter media types by date or search media files using specific keywords.
WORKING IN GRID VIEW
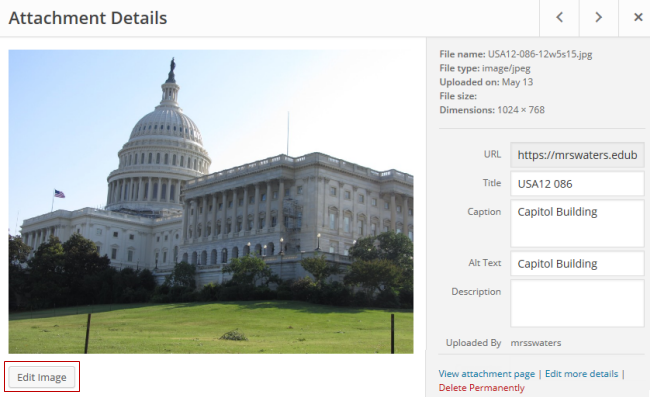
Clicking on a file in Grid View mode launches the file’s attachment details window where you can Edit Image, View Attachment page and Delete Permanently.

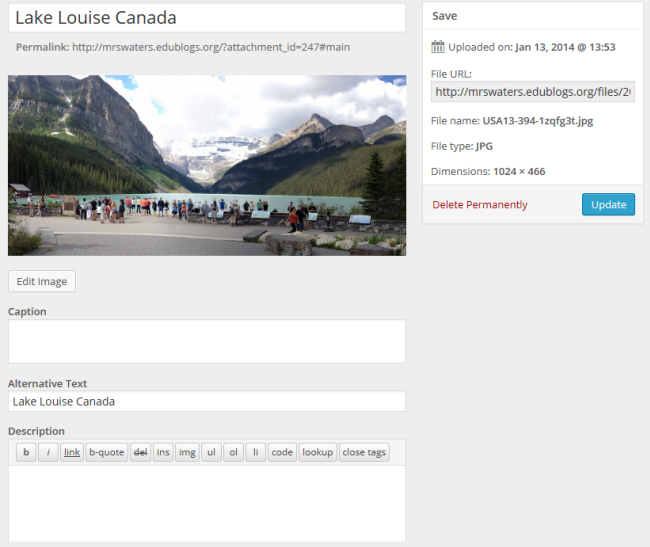
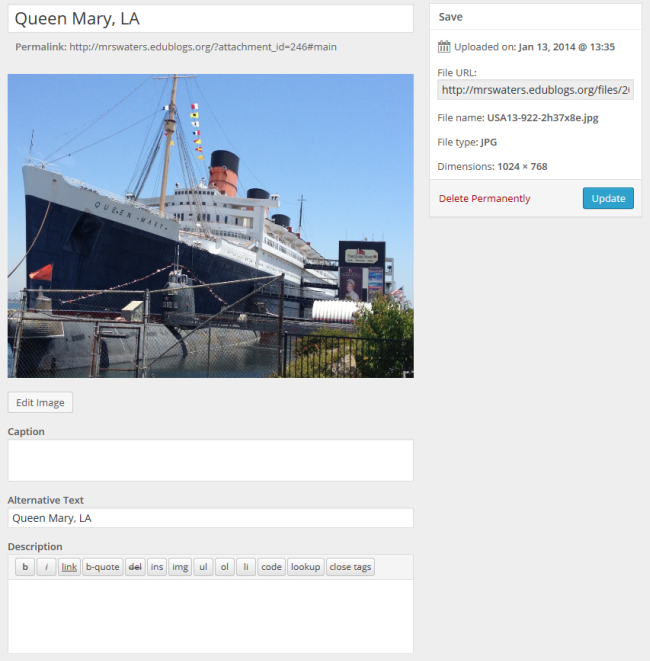
Below is what the file’s attachment details window looks like.

The following image settings can be changed:
- Title – Image title to be displayed when the image attachment page is viewed.
- Alternative text – displayed when images don’t load.
- Caption – displayed when a caption is added.
- Description – information you want displayed when an image is viewed on it’s attachment page.
The following image settings can’t be changed:
- File name – name of your file. If you want this changed you need to rename the file on your computer before uploading.
- File type – Automatically displayed based on the file type you uploaded.
- Upload date – date the image was uploaded.
- Dimensions – width and height of the original image.
Edit Image
To edit the image click on Edit Image.
The screen will load and look like the following:
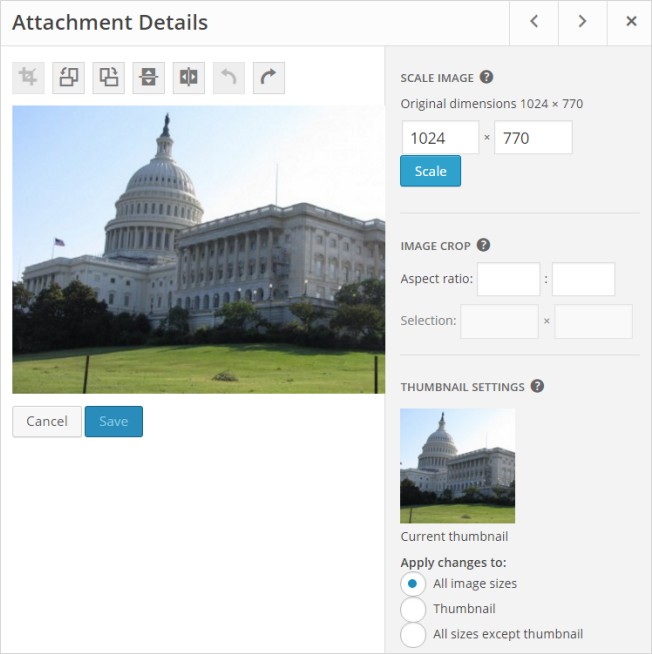
Your editing options are: crop, rotate, flip and resize.
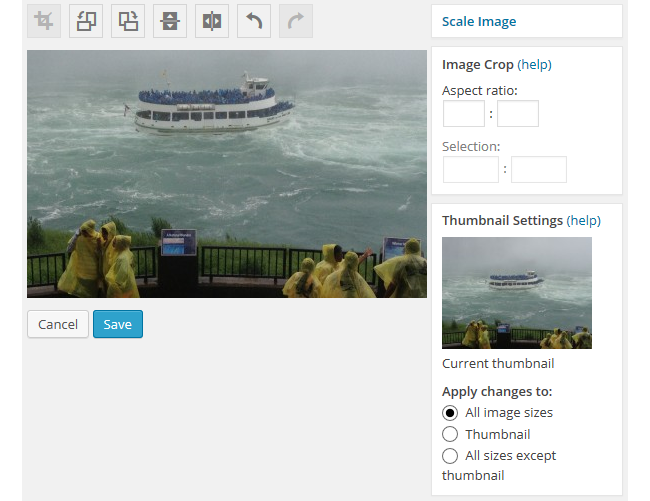
Crop
Cropping is used to remove unwanted portions of an image that you have uploaded.
Click and frag with your mouse to select the area of the image you want to keep and then click on the Crop button once you are happy with your selection.
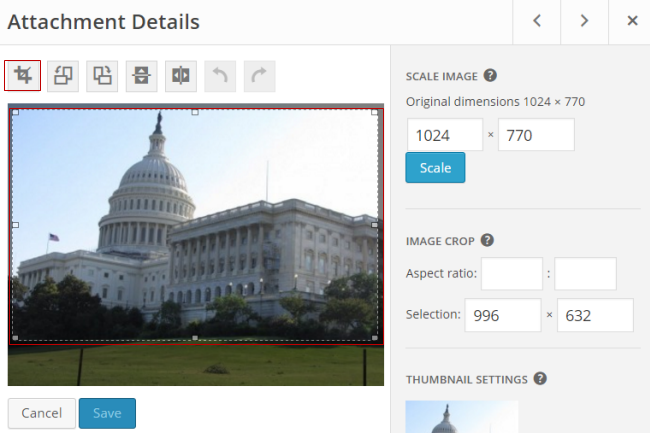
This displays your new image.
Click Save if you are happy with the cropped image or Cancel to try again. Once you’ve finished you must click Save on the cropped image to save the new image.
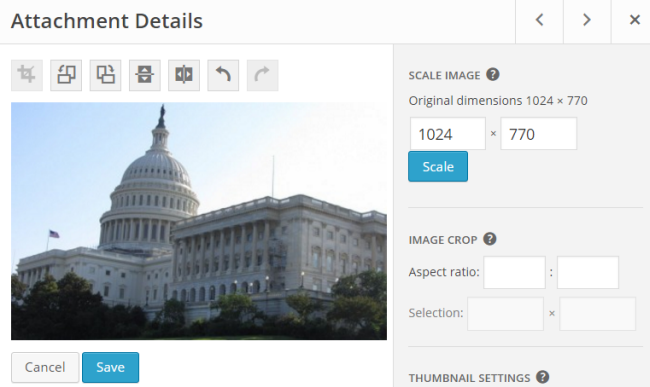
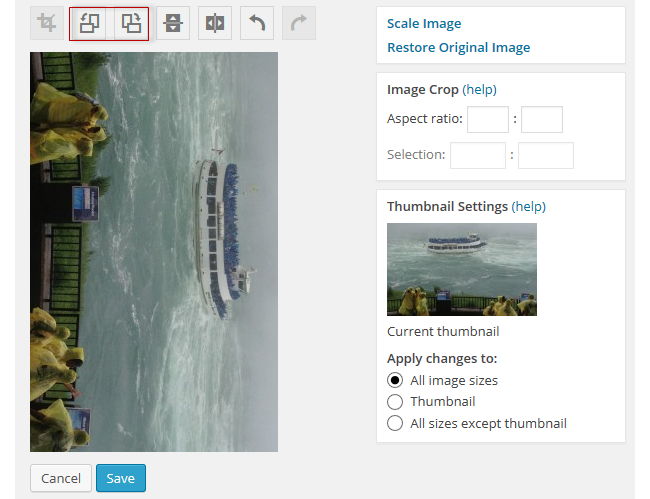
Rotate
The rotate icons are used to rotate the image clockwise or counter-clockwise.
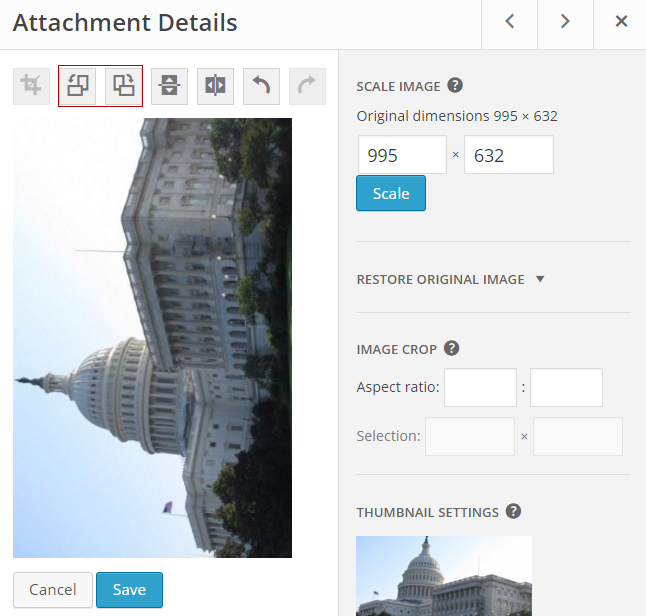
Click Save if you are happy with the rotated image or Cancel to try again.
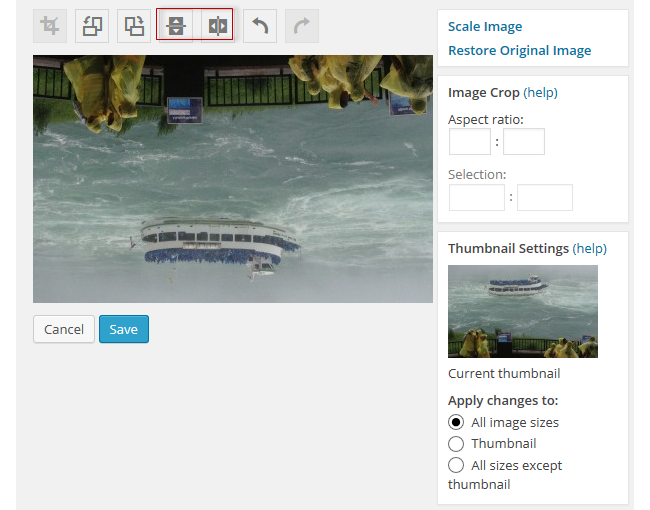
Flip
The Flip icons are used to flip the image vertically or horizontally.
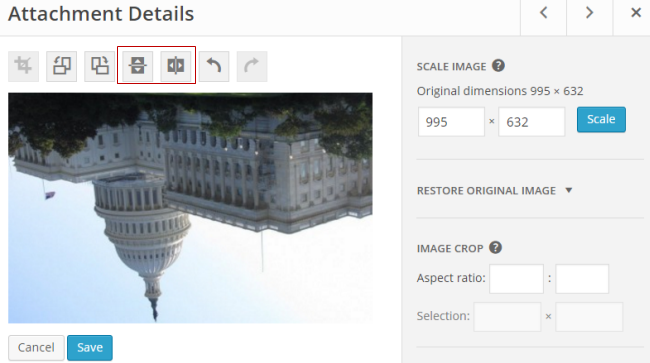
Click Save if you are happy with the flipped image or Cancel to try again.
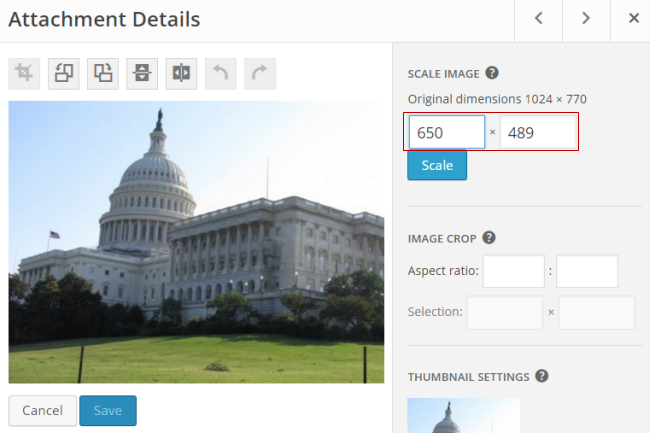
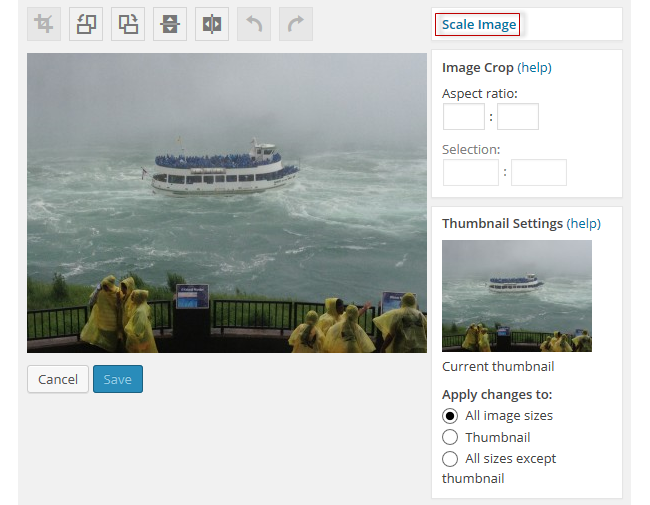
Resize
Scale image is used to resize the image to a smaller size.
Add the new width (first field) and the height field (second field) adjust automatically and proportionally. Click Scale to save your resized image.
Undo and Redo
Undo and Redo icons are used to undo or redo edits you made to an image.

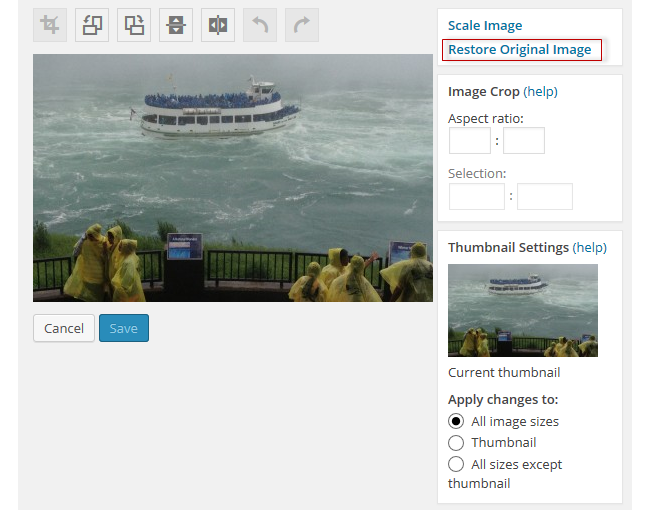
Restore
Restore original image is used to revert all previous edits made to an image and restore the original image uploaded to the media library.
First click on Restore Original Image to reveal the restore option.
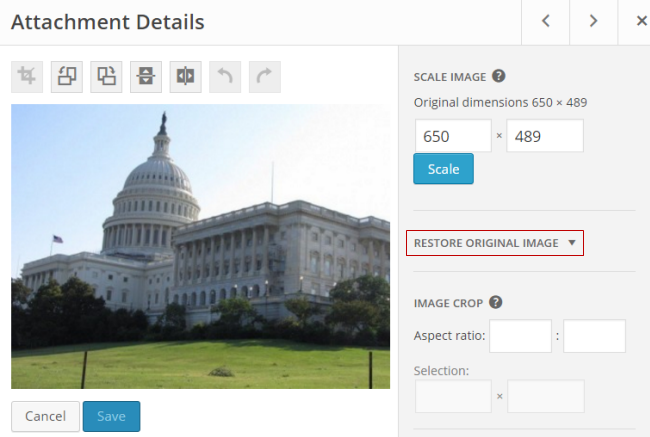
Then click on the Restore Image button.

LIST VIEW
By default, the Media library displays files in a Grid View.
If you wish to display the files in List View, click on the List View icon on the top left menu bar to change display mode.
The List View mode displays the files in a list.
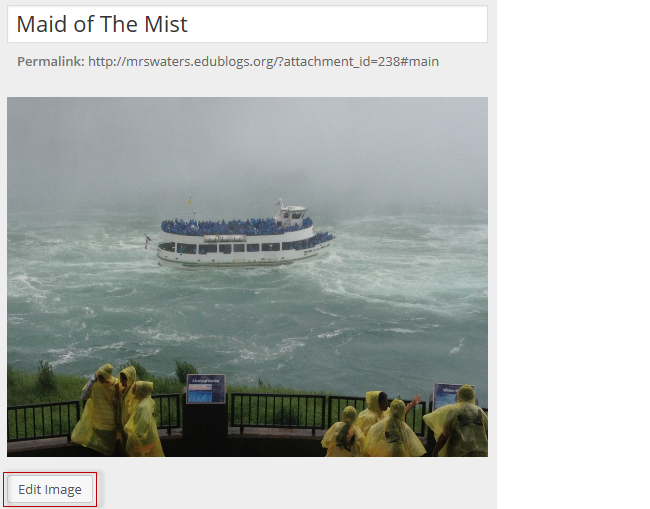
Hovering your mouse over a file name brings up the Edit, Delete, and View action links below the title.

Edit
If you click Edit, the Edit Media page loads, allowing you to change the default Title, Caption, and Description.
It also shows the file URL.

After making any changes remember to click the Update button.
The following image settings can be changed:
- Title – Image title to be displayed when the image attachment page is viewed.
- Alternative text – displayed when images don’t load.
- Caption – displayed when a caption is added.
- Description – information you want displayed when an image is viewed on it’s attachment page.
The following image settings can’t be changed:
- File name – name of your file. If you want this changed you need to rename the file on your computer before uploading.
- File type – Automatically displayed based on the file type you uploaded.
- Upload date – date the image was uploaded.
- Dimensions – width and height of the original image.
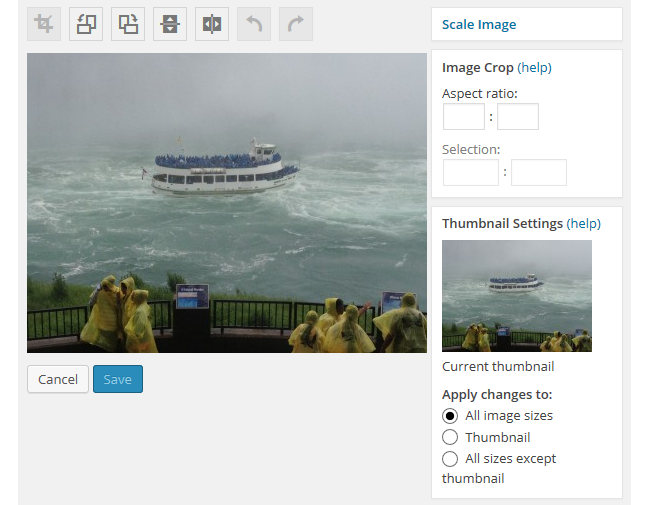
Edit Image
The Edit Image button launches the Edit Image page where you can preform basic editing (crop, rotate, flip and re-size).
The Edit Image page looks like the following:
Crop
Cropping allows you to remove any unwanted portion from an image that you have upload ed to your media library.
1. Click and drag your mouse to select the portion of image you want to keep.
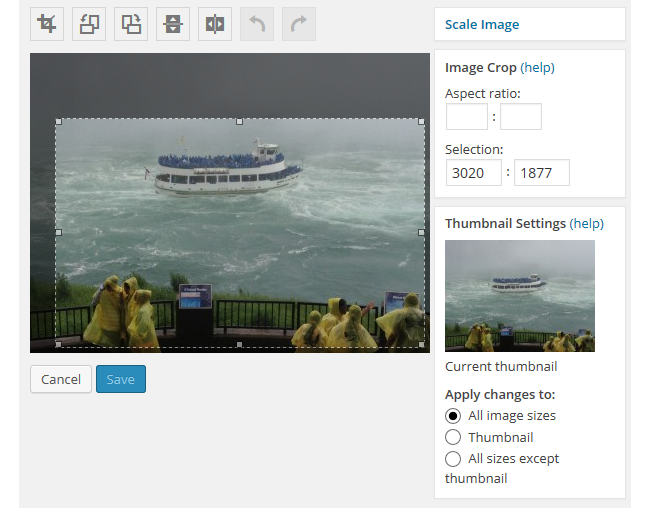
2. Click on the Crop icon.

3. Your cropped image loads.
4. Select which images the changes are applied to. You can apply it to all sizes, thumbnail only or All sizes except for Thumbnail.

5. Click Save if you are happy with the results.
The crop image isn’t saved unless you click Save.
Rotate
You can rotate an image in your media library clockwise or counter-clockwise using the rotate icons. Click Save if you are happy with the results.
Flip
You can flip an image in your media library horizontally or vertically using the flip icons. Click Save if you are happy with the results.
Resize
You can resize any image in your Media Library smaller using the Scale Image editing option. Scaling should be done prior to any cropping, rotating or flipping of the image.
1. Click on Scale Image.
2. Add your preferred width (first field) and the height (second field) automatically adjusts.

3. Click Scale.
Undo and Redo
The undo and redo icons allows you to undo or redo previous edits.

Restore Original Image
Restore Original Image can be used to restore the original image that you initially uploaded to your media library.
When you open a previously edited image in editing mode you’ll see a Restore Original Image Link. Clicking on Restore image button reverts the image back to the original form.
Delete Permanently
Clicking the action link Delete Permanently removes that file from your blog and deletes it. Be careful! Once deleted you can’t undelete a file.

If the file you delete was in a post or page, it will no longer be available for your readers.
For example, if you delete an image that is being used in a post then the image will no longer display in the post.

View
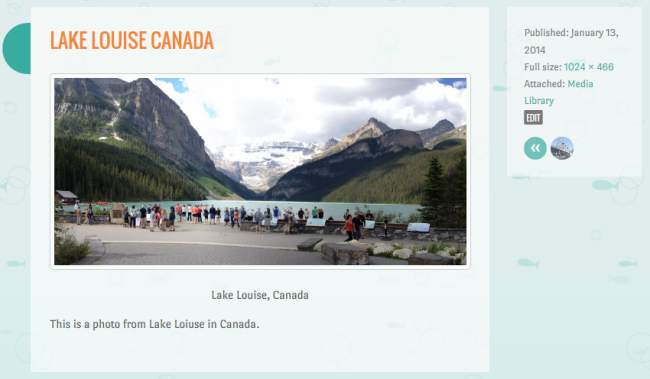
When you click on View under an image in your Media library it takes you to your image attachment page – a page set up specially designed to display the image with all image details. Appearance of the attachment page varies depending on your theme.

Here’s an example of an attachment page.
UPLOADING FILES
By clicking Add New in the Media menu you can upload image, audio, video and other files to your Media Library without having to start a new post or page.
This method can be used to upload any file provided:
- It is an allowed file format. Allowed file formats include: jpg jpeg png gif doc pdf mp3 ppt wmv mp4 xls ins isf te xbk notebook m4a ist kmz kes mov flp avi swf wxr xml wav fjsw docx pptx xlsx xml m4v max kmz zip
- The file is not larger than 50 MB.
You upload media files to your media library as follows:
1. Click on Media > Add New.

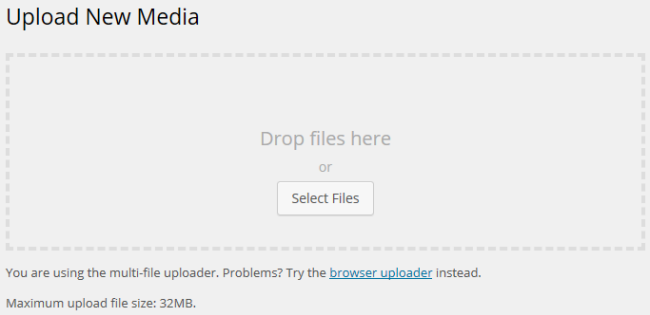
2. On the Upload Media page click on the Select Files to choose a file from your computer to upload.
You can drag and drop files from your computer into the Drop files here if you are using a web browser that supports HTML 5 (such as the latest version of Chrome, FireFox or Safari).
3. Locate the file(s) on your hard drive
4. Click Open to start uploading the file
5. While your file(s) are uploading you will see a progress bar.
6. When a file has finished uploading, you will see a Edit link on the right.

7. Clicking on the Edit link will allow you to edit the Title, Caption, and Description for a file
8. You can also copy the File URL location. This is what you use to link to the file in Text widgets, links (via Links > Add New) and posts (or pages).
9. Once you’ve completed all edits click Update.